Establishing a safe living space for their canine is of the utmost importance for any pet owner. While commercial dog houses may be costly, making a DIY insulated dog house provides an affordable and rewarding alternative. Not only does it meet all of your canine’s specific needs, but it’s also an enjoyable project that allows you to express yourself creatively!
This is especially important for those living in extreme weather conditions, where a well-insulated dog house can protect your dog from the harsh cold in winter and the sweltering heat in summer.
This guide has got you covered if you are considering building a dog house. You can follow this guide to create a cozy spot for your furry friend year-round. It will take you through each step of making an insulated pallet dog house from scratch. And not just that, you’ll also learn how to choose materials and insulate them perfectly.
Let’s start off with your easy DIY insulated dog house project, which will provide a space where they can feel snug as well as show them some love!
The Key Takeaways
- A DIY insulated dog house is an excellent way to provide a safe and warm place for your pet to live in.
- With insulation installed throughout the year, the dwelling of your pet will always be at optimum temperature.
- The house must be well-ventilated and guarded against external conditions.
- By introducing personalized elements into its life and health care, you can contribute towards improving its welfare while also enhancing the quality of its life.
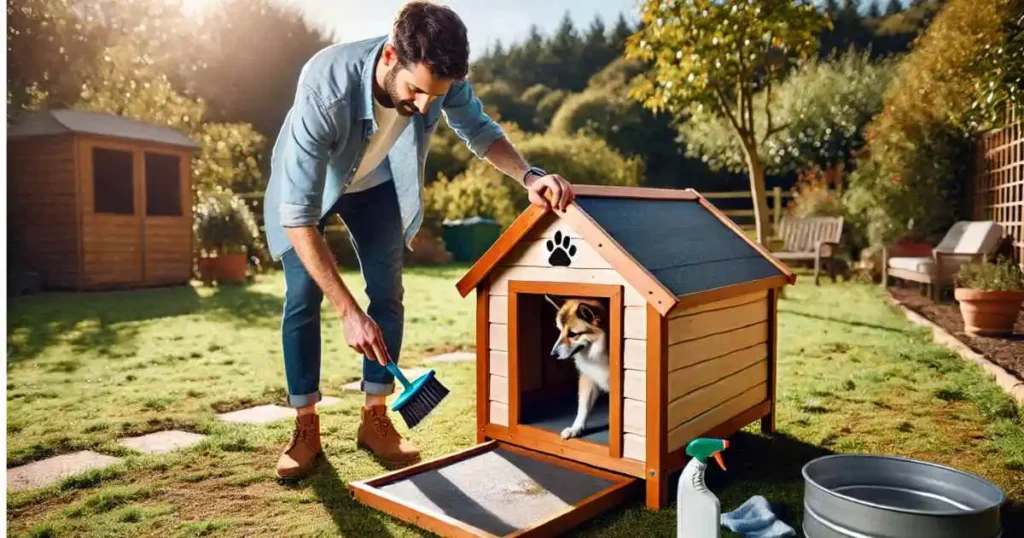
- Ensure regular upkeep so as to lengthen its durability.
Why Should You Build an Insulated Dog House?

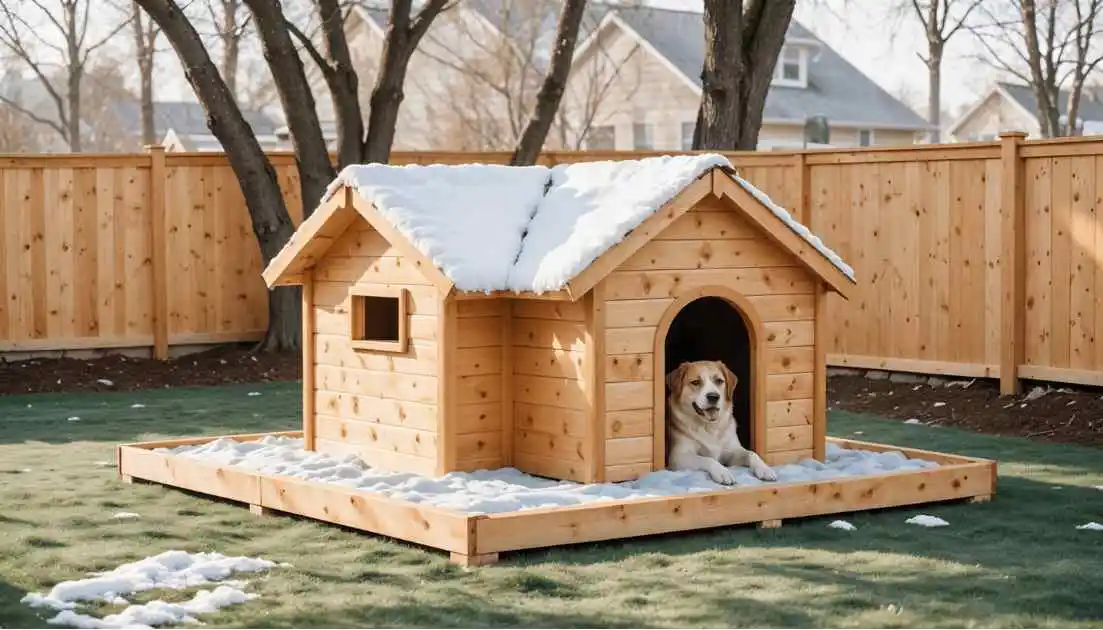
An insulated dog house has many benefits for your pet. It regulates the temperature, making it comfortable all through the year. This is crucial for maintaining warmth during the winter and coolness during the summer.
Advantages of Proper Insulation
Such houses shield animals from cold, heat, and other diseases. They keep a cozy environment even if it’s too hot or too cold outside, which ensures safety for dogs all year round.
Protecting Your Furry Friend
Insulated homes not only control temperatures but also act as shields against wind and rain. Such houses should therefore be designed in such a way that they provide secure places where pets can feel safe and snugly kept.
| Benefit | Description |
| Temperature Regulation | Insulation maintains a stable, comfy temperature, keeping your pet safe from the ups and downs of weather. |
| Weatherproofing | An insulated dog house shields against harsh winds and rains, providing a safe space for your furry friend. |
| Improved Health and Comfort | This house keeps your dog safe from outside dangers, helping them stay healthy and happy. |
DIY Insulated Dog House plans :
A step-by-step guide to building an insulated dog house:
Tools and supplies needed:
- Measuring tape
- Saw (hand saw, power saw, or miter saw)
- Drill and drill bits
- Screwdriver
- Hammer
- Wood glue
- Nails or screws
- Insulation panels (e.g., foam, fiberglass, or rigid foam)
- Exterior siding (e.g., wood, vinyl, or metal)
- Roofing material (e.g., shingles, metal, or rubber)
- Bedding or padding (optional)
Materials Needed:
- Plywood sheets
- 2×4 lumber
- Insulation material (e.g., foam board, reflective insulation, or fiberglass)
- Weatherproof sealant
- Screws and nails
- Hinges for the roof
- Door flap (optional)
- Bedding material (e.g., straw, thermal blankets, or a dog bed)
- Tools: saw, drill, measuring tape, hammer, screwdriver, utility knife
Insulation Options for Optimal Warmth
| Insulation Type | R-Value | Benefits | Considerations |
| Rigid Foam Boards | 5-7 per inch | High insulation value, easy to install, moisture-resistant | More expensive, and can be challenging to cut and fit |
| Fiberglass Batt Insulation | 3-4 per inch | Affordable, good insulation value, easy to install | Can be less effective in humid environments and may require an additional vapor barrier |
| Reflective Insulation | 3-6 per inch | Lightweight, easy to install, reflects heat | May not provide as much insulation value as other options |
DIY insulated dog house steps :
1. Planning and designing:

To begin, measure your dog. Make sure that the space is large enough for them to stand up or turn around without any trouble. Then, draw out a detailed plan that includes all of the pieces (such as the base, walls, roof, and door), labeled with their sizes and measurements.
2. Follow the design and start cutting:

Cut a piece of plywood to match the size of your design for the base. You will also need two plywood panels for the sloped roof and four for the walls. Just be sure one of those front panels is slightly shorter than the other to allow for the incline of the roof.
Finally, cut a door opening in one of those front panels big enough for your pup to come in and out comfortably.
3. Building the frame :

Create a frame using 2×4 lumber around the edges of the base. Secure it with weather-resistant screws, and make sure it’s level.
This provides a sturdy foundation while keeping the house off the ground. In the same way, build wall frames, then attach them.
4. Insulating the walls :
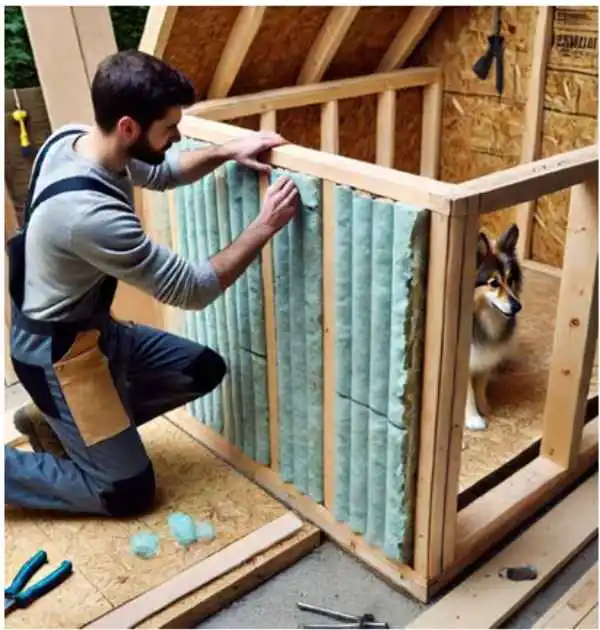
Cut insulation material to fit inside wall frames, then attach insulation to plywood panels; add another layer of plywood on top for a clean finish inside.
5. Assembling Walls and Roofs :
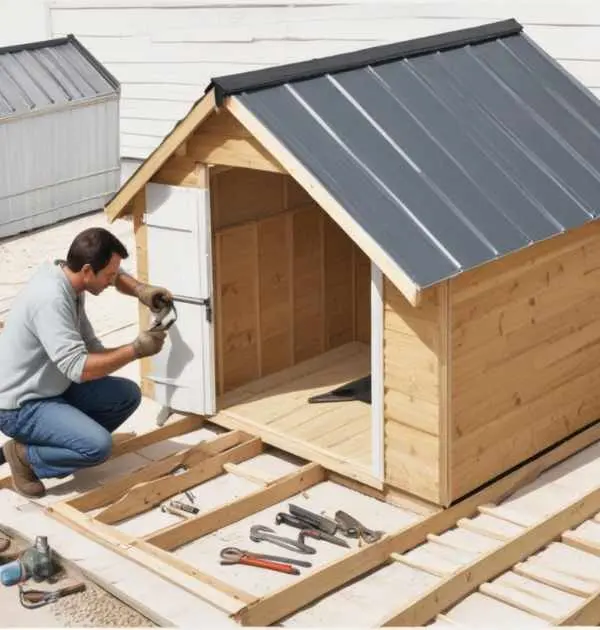
Secure wall panels onto the base using screws, starting with the back wall and ending with the front one. Now, attach roof panels to the house through heavy-duty hinges. This allows the roof to be lifted for easy cleaning.
Use a latch to keep the roof securely closed. Ensure the roof panels overlap at the peak for optimal weather protection. (Use weather-resistant screws for durability.
6. Seal Gaps:
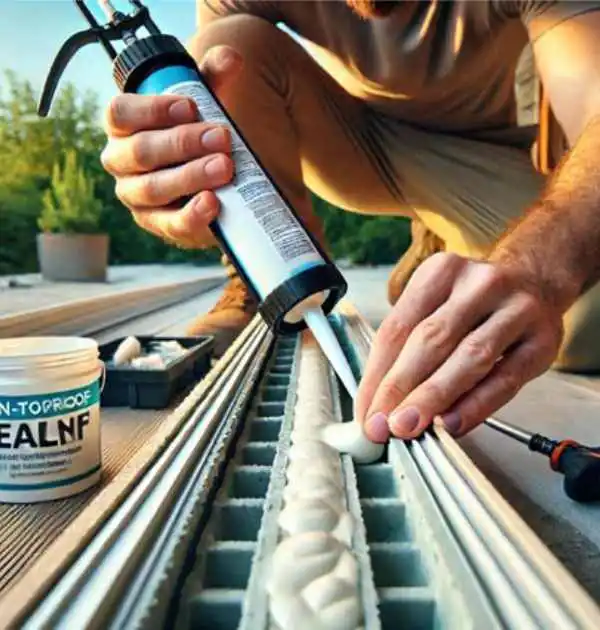
Fill all gaps and edges using sealing agents like weatherproof sealant so that the air does not pass through. Non-toxic caulk should be used to safeguard your dog’s health and safety.
7. Elevating the Floor:

Attach supports to each corner of the base frame so as to lift the dog house above ground level for protection against moisture and pests. Ensure supports are cut at the desired height while fixing them firmly into place using weather-resistant screws.
8. Painting or staining:
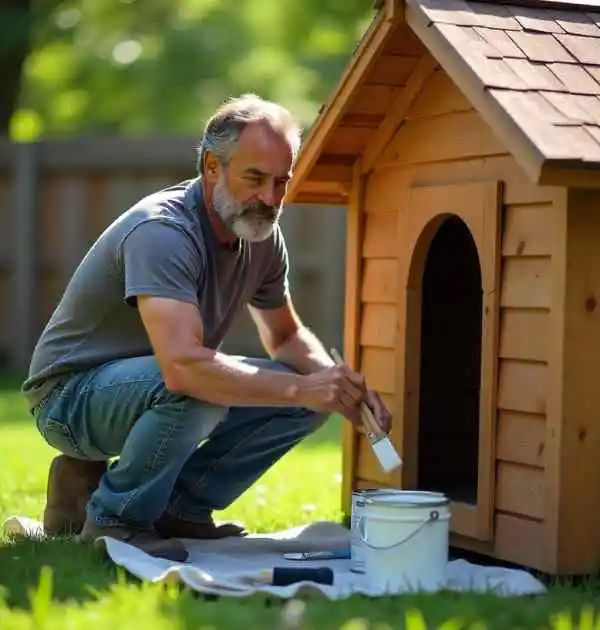
Cover the outer part of the dog house with eco-friendly paint or stain that can withstand harsh weather conditions.
9. Ventilation and door flap:
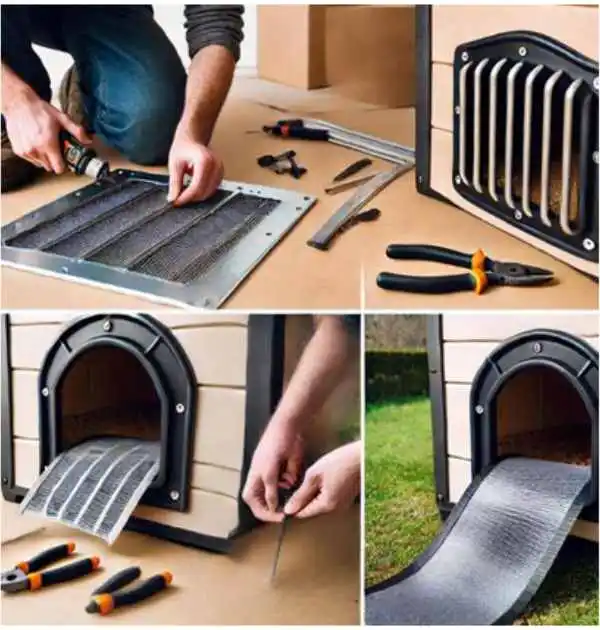
Fit ventilation grills near the top part of side walls to allow air circulation, especially during hot seasons; these should be securely installed and made weatherproof. Also, attach a door flap made from material resistant to weather conditions such as rain, cold, etc.
10. Show your love for interior comfort :

Place carpet or rubber mats on the floor to add warmth and comfort. Soft and comfortable bedding may also be added. Ensure that the materials are easily removed for cleaning.
Finally, inspect for sharp edges, protruding nails, or rough surfaces. Sand down or hide any potential risks to keep your dog safe.
11. Placement:
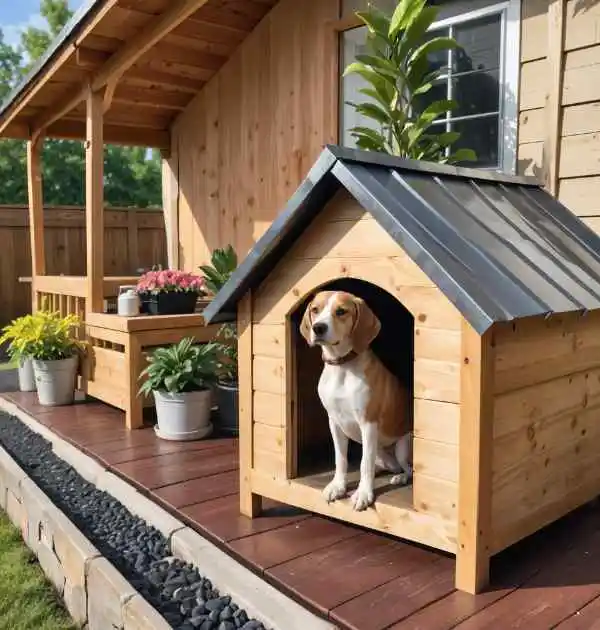
Find a place that is protected from strong winds, rain, and direct sunlight. This can be achieved by putting it on the porch or near a wall with shade throughout the day. Ensure that the location you choose to put it has a good drainage system to avoid excess moisture accumulation, as this might make the house dump.
Proper installation techniques
Installation techniques must be followed correctly for any project to be successful and long-lasting. A good installation will not only improve performance but also prevent potential problems that may arise from an incorrect set-up.
The choice you make regarding how to insulate the walls and floors is significant since it ensures that the insulation works effectively, thereby keeping the dog’s house strong over time. Proper insulation of walls and floors can make a snug, energy-efficient dog house.
There are numerous ways to insulate your DIY dog house. Each one guarantees warmth during the cold seasons and coolness in the summer.
It is vital to choose appropriate materials, such as fiberglass or foam boards, for the walls. What matters most is cutting them into the correct sizes so that they fit well without leaving any space for the air to pass by. For the ground, use rigid foam boards or a sturdy vapor barrier. Ensuring that all edges are firmly fixed together prevents drafts.
Ventilation and weatherproofing measures should not be taken lightly because fresh air must circulate freely. This stops stale air and maintains the humidity level.
Use weather stripping around the door and other areas to keep cold air, rain, or snow from entering your DIY insulated dog house. Proper sealing ensures dryness and warmth.
Customizing for Your Dog’s Needs
Each dog has unique wants and needs. Customizing your dog’s environment to meet these needs will make it a happier, more active place. Consider items that reflect your dog’s personality or temperament.
Consider painting in bold colors, installing distinctive signs, or displaying an ornate image. Understanding and addressing your dog’s specific requirements, like chewing habits, sleeping positions, and feeding times, can ensure convenience throughout their stay.
Conclusion
A do-it-yourself-insulated dog house is an inexpensive way to provide warmth and shelter for your pet. By following this step-by-step guide, you can build a unique, heated living space tailored specifically for your furry friend! A well-made, insulated dog house is a pet’s haven. It keeps them safe and happy, no matter the weather. So, let your creativity out and create the perfect home for your dog.
